

How To Install PHPCI In Homestead
PHPCI is a nifty little swiss-army-knife for your development toolbox. It provides continuous integration and connects to popular services like GitHub and BitBucket. It will monitor your source repositories for changes, and trigger a new build when it sees activity. Then it will let you know if anything went wrong or can be improved.
This comes in handy to improve your code quality and minimize errors and issues down the road. In the following section we’ll go through the process of installing PHPCI in Homestead.
A word of caution: it can be unbearibly slow if you install it in the shared folders section. It also helps to have more than 1 processor assigned to Homestead to speed things up.
Pre-Requisites
- Laravel Homestead 2.0 configured and running.
- Make sure Homestead is up and running:
homestead up
2. Add a new database “phpci” to Homestead using your favorite SQL admin tool, maybe something like Sequel Pro:
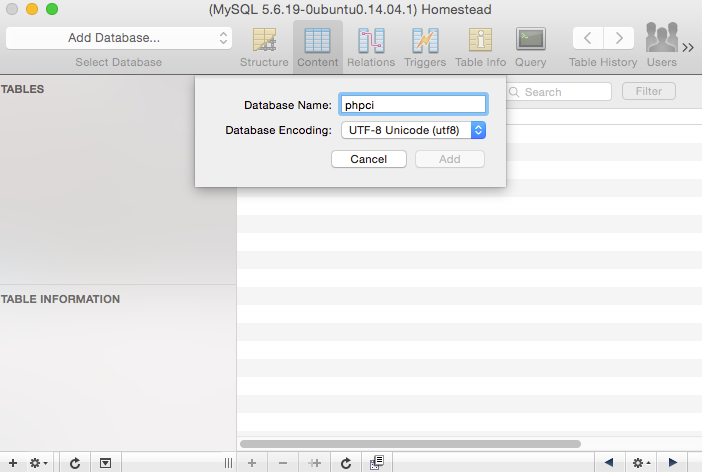 Create PHPCI Database
3. Open your Terminal, SSH into your homestead VM, and clone phpci to a dedicated folder outside of the shared folder:
homestead ssh
cd ~
git clone [https://github.com/Block8/PHPCI.git](https://github.com/Block8/PHPCI.git)
4. Get all the dependencies:
cd ~/PHPCI
composer install
4. Configure PHPCI:
./console phpci:install
Using the following answers:
******************
Welcome to PHPCI
******************
Checking requirements… OK
Please answer the following questions:
 — — — — — — — — — — — — — — — — — -
Please enter your MySQL host [localhost]:
Please enter your MySQL database name [phpci]:
Please enter your MySQL username [phpci]: **homestead**
Please enter your MySQL password: **secret**
Your PHPCI URL (“https://phpci.local" for example): **https://phpci.dev:8000**
Setting up your database… OK
Admin Email: **your@email.com**
Admin Name: **Your Name**
Admin Password: **yourpassword**
User account created!
6. Add cron job to automatically run builds:
sudo env EDITOR=nano crontab -e
Add the following to the cron file:
* * * * * sudo php /home/vagrant/PHPCI/console phpci:run-builds
7. Update MySQL configuration:
sudo nano /etc/mysql/my.cnf
(Continue, even if the file doesn’t exist.) And add the following values in the [mysqld] section:
[mysqld]
max_allowed_packet=64M
innodb_log_file_size=512M
innodb_log_buffer_size=768M
8. Restart the MySQL service:
sudo service mysql restart
9. Update PHP configuration:
sudo nano /etc/php5/cli/php.ini
With (leave as is if it is already larger than 1024M):
memory_limit=1024M
10. Let’s exit out of homestead:
exit
11. Edit homestead config:
homestead edit
And add your new PHPCI site:
sites:
  — map: phpci.dev
    to: /home/vagrant/PHPCI/public
12. Update your hosts file:
sudo nano /etc/hosts
And add the relevant entry:
127.0.0.1 phpci.dev
13. Now restart Homestead and provision it:
homestead halt
homestead up --provision
14. Open your browser and go to: http://phpci.dev:8000. You should now be able to log in using the email address and password specified in step #4.
15. From here on in just follow all the same established PHPCI procedures as documented in their wiki: https://github.com/Block8/PHPCI/wiki
In a future post I will discuss setting up a Laravel project and showing off all PHPCI can offer.
Updates
- Egor Pervuninski promptly converted these instructions to an Ansible deployment. Nice job!